Showing posts with label DIY. Show all posts

Monday, April 22, 2013

NOTD: Purple Gradient Nails

Happy Monday, everyone! I know Monday isn't everyone's favorite day of the week. So, I'm trying to do my part to make your Monday a little bit better with a new blog post. Today's post is a NOTD(nails of the day). I was feeling a little lazy when I did these, so they are pretty simple. It's a purple gradient glitter. I hope you like them, and give them a shot. I have a tutorial on gradient glitter nails already, if you want to check it out. When I have a working video camera, I will do a video tutorial on them, as well. I hope your Monday is going well, and find this post as a little break from the Monday blues. Don't forget to like me on Facebook if you want to see what I'm up to. Follow me on Instagram for lots of pictures from my life.
Have a blessed Monday,


Products used:
Base coat: 3 Minute Artificials
Light Purple: Sally Hansen, Lacey Lilac 
Sheer Glitter: Revlon Sweet Nothings, Satin Sheets
Chunky Purple glitter: Pure Ice, Darkside
Top coat: Sally Hansen, Insta Dry
1 Cosmetic Wedge Sponge
__________________________________________________


I started by painting my nails with a base coat. Next, I painted them in a light purple. When that dried, I painted a thin coat of a sheer fine glitter. The sheer fine glitter helps the gradient effect look like it carries all the way down the nail. Then, I used the cosmetic wedge to sponge the purple glitter onto the tips of my nails. I let that dry, and used my current favorite top coat. Lastly, I used a paint brush dipped in nail polish remover to clean up any nail polish that got on my skin.

__________________________________________________


Thursday, April 11, 2013

Gradient glitter nail Tutorial

Hello again, everyone! I have another blog post coming your way! I hope you're ready and excited! Today's post is another nail tutorial. It's a very simple, but doesn't look it. It looks like you spent more time on your nails than you actually did, gotta love that. Are you ready to get into today's tutorial? Let's get into it!


If you want to see how I created this look, keep reading!
__________________________________________________


                                                 Products used:
                                  Base coat: Nail-aid, 3 Minute Artificials
                           Mint green: Rimmel 60 second, Mintilicious
                             Baby blue glitter: Sinful colors, Cinderella 
                             Chunky silver glitter: Pure ice, Dazzle me
                                   Top coat: Sally Hansen, Insta dry
                                          Wedge makeup sponge 
                     Nail polish remover: Onyx, 100% pure acetone  
    paint brush for getting off any polish that got onto my skin

__________________________________________________


Step 1: On clean dry nails, apply your favorite base coat.

Step 2: Choose what nails you want to be your accent nails ,and leave them bare. Paint all of the non-accent nails with any color of your choice. I chose a mint green.
__________________________________________________


Step 3: Apply 1 coat of a sheer glitter on all nails. I chose a baby blue color. It almost makes my mint green look like a Tiffany blue. Before moving to step 4, let your nails dry for a couple minutes.

Step 4: Apply 1 coat of a chunky glitter of your choice, and let it dry for a couple minutes. 
__________________________________________________


Step 5: Apply a second layer of the chunky glitter. I wanted a little of the blue glitter to shine through.

Step 6: Apply a little of the chunky glitter polish to the edge of a wedge makeup sponge. 
__________________________________________________


Step 7: Carefully, sponge the tips of each non-accent nail with the chunky glitter. You'll have to apply glitter to the sponge for each nail. Concentrate the glitter on the very tip, and blend it down a little. So that there is a little gradient of glitter, instead of a harsh line.

Step 8: Apply one coat of your favorite top coat. Then, using either a cotton bud or paint brush dipped in nail polish remover, clean up any nail polish that may have gotten on your skin. That's it, you're finished!

__________________________________________________


I hope you enjoyed this tutorial, and give it a try! It's really easy, and makes you look like a pro. This is one of my go to looks when I don't have time, or just don't feel like going into a detailed look. If you're looking into getting into nail art this is a great starting place. It takes just a couple minutes, and looks amazing. If you try it, I would love to see! You can share your pictures on my Facebook page! If you want to stay up to date on what I'm doing, like me on Facebook. You can also follow me on, twitter, and instagram if you want to see even more. I hope you found this tutorial helpful, and learned something new. 
Have a blessed day, 

Friday, April 5, 2013

NOTD: Pink, and While polka dots

Hello again, everyone! I hope you're ready for a new post! Although, I guess it doesn't matter if you're ready or not. Today's post is another, Nail of the day. I'm loving these nails! They are really simple, I think anyone could do them. They look girly, and ready for spring. When I get my video camera working, I can record a video tutorial if you'd like. It's so simple, Start with your favorite base coat, paint your nails with whatever color you'd like in whatever way you'd like. When your polish has dried go in with a dotting tool, or a toothpick, and place your dots in whatever color you want. I finished my tips with a line of silver glitter again. Then add a top coat and that's it! I hope you like my nails today, and if you try the look out let me know, I'd love to see! You can share your pictures on my Facebook page!
Have a blessed day, 


Products used:
Base coat: Nail-aid, 3 minute artificials
Pink: Sally Hansen, I pink I can
White: Apple Barrel colors, White
Top coat: Nail-Tek, Quicken


Wednesday, April 3, 2013

Elegant Light Pink Lace Nail Tutorial

Hello again, everyone! I'm happy to bring you my next video tutorial! I hope you're excited to see how I created an elegant lace design. I decided not to have captions during this video, it was too distracting. If possible I will later add a voice over, just have to get a better mic for voice overs. I hope you find today's video helpful! Don't forget to thumbs up the video, and add it to your favorites so you can find it again later. Plus, if you want to stay up to date on what I'm doing, like me on Facebook.
Have a blessed day,


Sunday, March 31, 2013

How I remove nail polish

Before I get into today's blog, I want to wish everyone a, Happy Easter! 
Now, onto my blog. Today's post is going to be about my favorite way to take my nail polish off. It's a couple extra steps, but I promise, it's worth it. The couple extra steps make it so easy to get all nail polish off. Yes, that includes glitter polish! Anyone in who loves glitter polish knows just how hard it is to get off. This trick takes glitter polish off without using 100 cotton balls, scrubbing, and getting glitter everywhere. It works on dark polish, and red polish, too! I saw this trick on Pinterest, and thought why not give it a go. It works for me, and I am so happy I found it. Yay, Pinterest! I hope you find this trick as helpful as I did.

__________________________________________________


Step 1: You have nail polish you want to remove, get a cotton ball and your nail polish remover.

Step 2:Unroll your cotton ball.
__________________________________________________


Step 3: Fold your unrolled cotton ball in half.

Step 4: Fold your unrolled cotton ball in half one more time.

I know it seems silly, because now it looks almost like it did before we unrolled it. You're probably thinking "why did I unroll it". I've tired skipping these steps, but it didn't work as well. Just trust me, it's worth it.
__________________________________________________


Step 5: Grab your nail polish remover.

Step 6:Saturate you cotton ball. Make sure it's very well saturated all the way through.  

(yes, I know 100% pure acetone is very bad for your nails, but it's what I use. It takes all my polish off so much easier, and faster. Plus, I hate the taste of non-acetone based removers that is impossible to wash off. No matter how many time you wash your hands hours after taking your polish off you go to eat dinner, and bam all you taste nail polish remover)
__________________________________________________


Step 7: Unfold your cotton ball, and tear it into 5 little pieces  Place on piece on each nail. Make sure each piece is push firmly on each nail. Leave them on for 1-2 minutes. (sometimes I don't wait more than 30 seconds and it still works. For harder colors to remover, and glitter it's important to leave it on for longer.)

Step 8: Slide the cotton piece off your nail. Just press down firmly on the cotton piece, and slide it up and off your nail.
__________________________________________________


This is what your nails should look like when you've finished all the nails. 

I've seen other people do the same thing only wrapping each nail in foil after placing the cotton pieces saturated in nail polish remover on your nails. I've never tried that, but if you have trouble with your cotton pieces drying out before your ready to take the polish off then wrap each nail in foil. I might do a separate blog post on that later. If you want to see it, just let me know. 

Ok, that is the end of my post today. I hope you find it helpful, and learned something new.  I wish you all a happy Easter, and I hope you're spending this wonderful holiday with your family.
Have a blessed Easter, and don't forget, Matthew 28:6,

Saturday, March 30, 2013

Easter Bunny Nail tutorial

Hello again, everyone! I just got this Easter Nail tutorial uploaded to YouTube! Seeing as Easter is tomorrow,  I figured it's now or next year to recreate this design, I did last year. The video really isn't great, and for that I apologize. I seem to have lost the charger for my better video camera, this one didn't even auto-focus. I will get that resolved, so please bear with me as I get the poor video situation sorted. Also, the lime green I used in the very beginning  needed to be a more pale light green, but I couldn't find the right color.    I hope you still find the video helpful. I will get better videos as soon as possible. 


This design was inspired by fellow YouTuber  Robin Moses, if you don't know who she is, go check her out! She is amazing, and I have learned so much through her videos. I'll link to her video, and her YouTube page bellow. 
The video that inspired me: http://www.youtube.com/watch?v=4y9CJuKlytw 

I hope you all have a wonderful Easter! Don't forget what Easter is really all about, Matthew 28:6.
Have a blessed day,


Wednesday, March 27, 2013

Easy Pastel nails for sping

Hi, everyone, I hope you're as excited as I am for my first actual nail tutorial blog! Just in time for Easter I have this pastel nail tutorial for you. Originally, I was planning on making this a video tutorial, but the video didn't work out. Alas, at least I remembered to take pictures of each step, right? 


If you want to see how I created this design, keep reading.
__________________________________________________


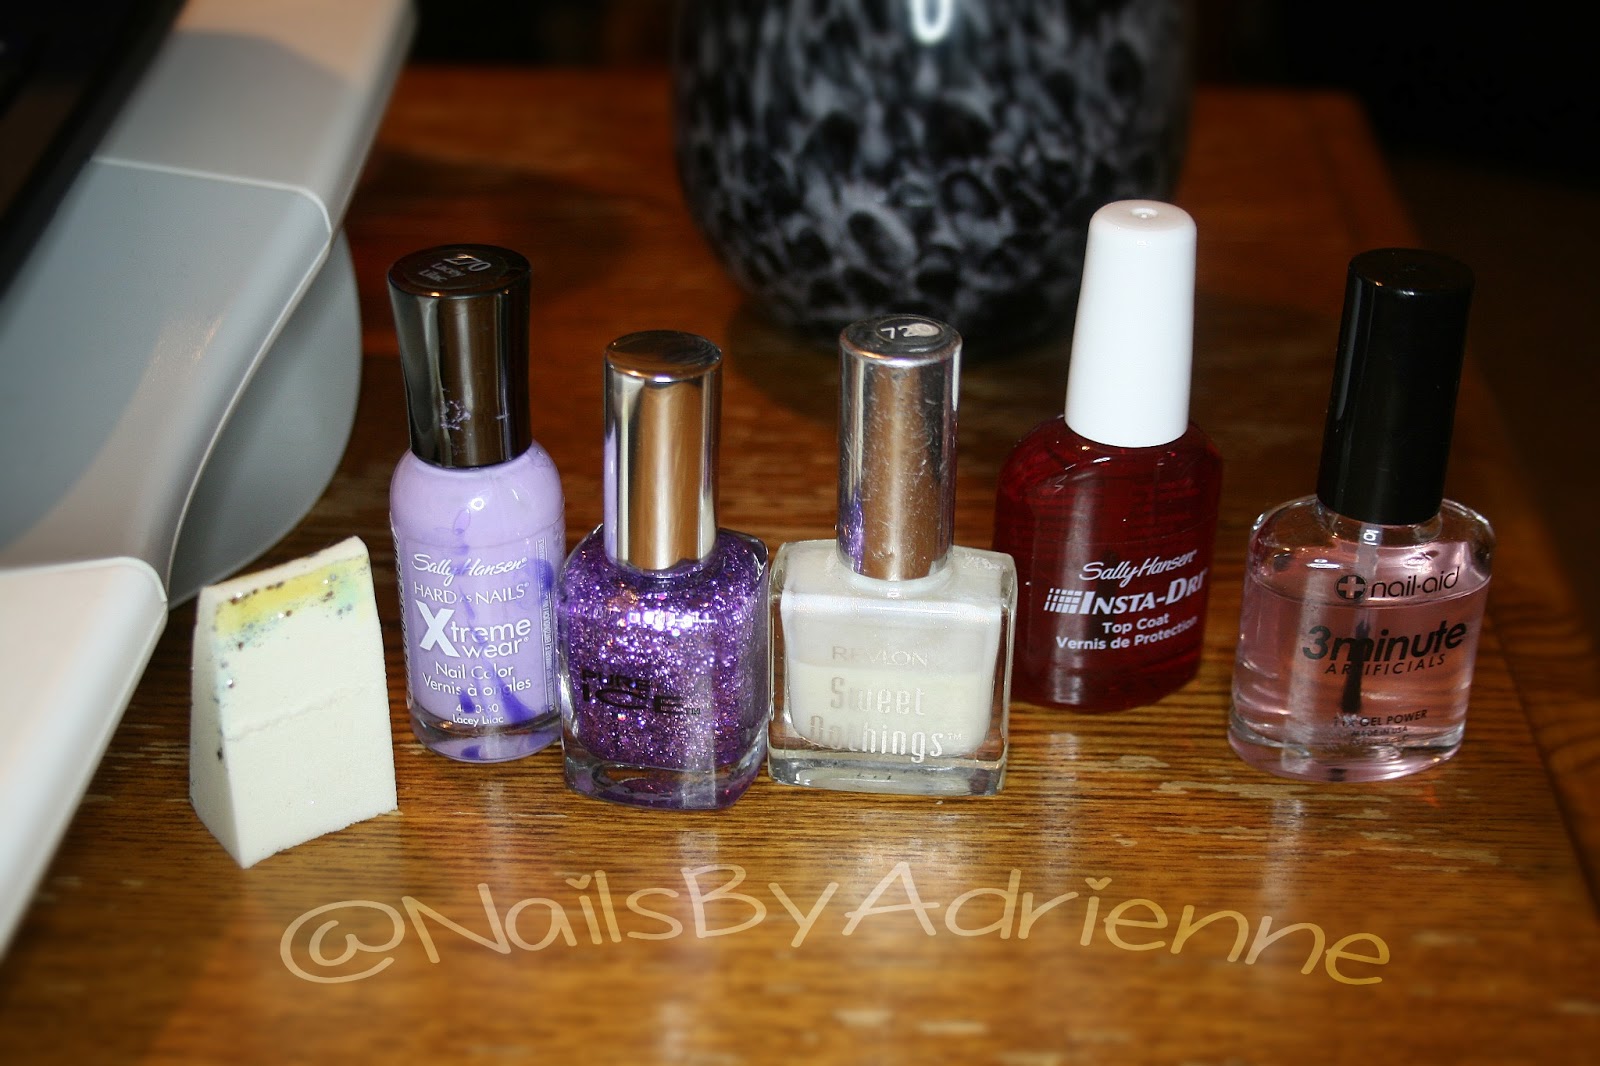
Above, is a picture of all the products I used in my design.
Base coat: Nail-aid, Triple wrap thickener
Light pink: Essie, French Affair
Hot Pink: Orly, Sterling silver rose
Pink glitter: Pure ice, Spit fire
Top coat: Nail-Tek, Quicken
Acrylic paint: Apple Barrel colors, white, and bright magenta


________________________________________________


These are the brushes I used to make this design. One detail brush, and the larger brush for cleaning up my nail beds after I finish my design for a cleaner look. 
__________________________________________________


  (step one should have been a picture of my nails with just a bast coat on, but I forgot to take that picture. When doing any nail painting, you should always apply a base coat. Not only does the base coat keep your polish on longer, but it also protects your nails against staining )

Step 1: After applying your favorite base coat, apply 1-2 coats of a light pink(or any color of your choice) on all of your finger except whichever finger you choose to be your accent finger. Leave your accent finger blank until step 2. 

Step 2: While allowing your other color to dry, move on to your accent nail. Paint it a darker/brighter coordinating color. In my case a hot pink.

Allow all of your nails to dry for a few minutes before moving on to step 3.
__________________________________________________

Step 3: This is an optional step. It doesn't show up well in the picture, but I applied a fine sheer glitter over my light pink.
Step 4:  Apply 1-2 coats of a coordinating glitter.

once again, for best results, wait for your polish to dry before moving on to the next step.( I skip this step all the time, and then get mad when I smudge my wet nails)
__________________________________________________


Step 5: Using either a dotting tool, or a toothpick, apply 3 dots in white paint(nail polish, or acrylic paint, I used acrylic). One dot where you want each corner of your triangle to be. You could skip this step and freehand your triangles if you feel comfortable. I find this way easier to keep my triangles uniform.

Step 6: Like when you were in kindergarten it's time to play connect the dots. Carefully paint a line connecting your dots. Then fill in the triangle. 
________________________________________________ 
Step 7: Using the same color you used on your accent nail, do like you did with the white, and place 3 dots where you want the corners of your second triangle to be. Make sure and place your dots far enough in so that some of the white will show along the outside of the smaller triangle.
(instead of using polish, I used acrylic paint in the same color as my accent nail. I find that acrylic is easier to work with)
Step 8: Connect your dots, just like before.

_________________________________________________________________________________


Step 9: Fill in your smaller triangle.

Step 10: Apply a little of the same glitter you used on your accent nail, in an even smaller triangle. Leaving a little border of the second triangle.(does that make sense? I hope that makes sense)
__________________________________________________

Step 11: After waiting for your nails to dry, again, apply your favorite top coat. I always use a fast drying top coat to speed things up. The top coat, seals in your design, and also helps prevent chipping. Now, is when you use your favortie nail polish remover to clean up your nails. Just dip a paint brush or cotton bud in the nail polish remover, and carefully remove any polish that might have gotten on your skin.

Step 12: The final and optional step is to apply a cuticle oil over the nails and cuticles. This just adds a barrier between your nails and life to prevent smudging while waiting for them to completely dry. Plus it is very good for your nail beds, and promotes long healthy nails. Coconut, almond, jojoba, avocado oils are all some of my favorite to use.
__________________________________________________

Below are closer pictures of all the products I used.


Thank you for making it to the end of my first tutorial! I hope you enjoyed it, and found it helpful. 
Have a blessed day everyone!