Showing posts with label pink nails. Show all posts

Monday, June 10, 2013

NOTD: Neon Pink with black rhinestones


Hello again everyone! I hope you're having a good day, and are excited for another NOTD(nails of the day)!  These nails are so simple I don't think they need their own tutorial. If you would like to see a tutorial on these nails just let me know. If you have any questions feel free to ask. I'd love to hear from you. If you try this design out, share it with me on Facebook, Twitter or Instagram, I'd love to see! Like me on Facebook to see more from me. I'm also on Instagram and Pinterest, and Twitter . Check out my other blog if you'd like to see non nail related blogs. 
Have a blessed day,


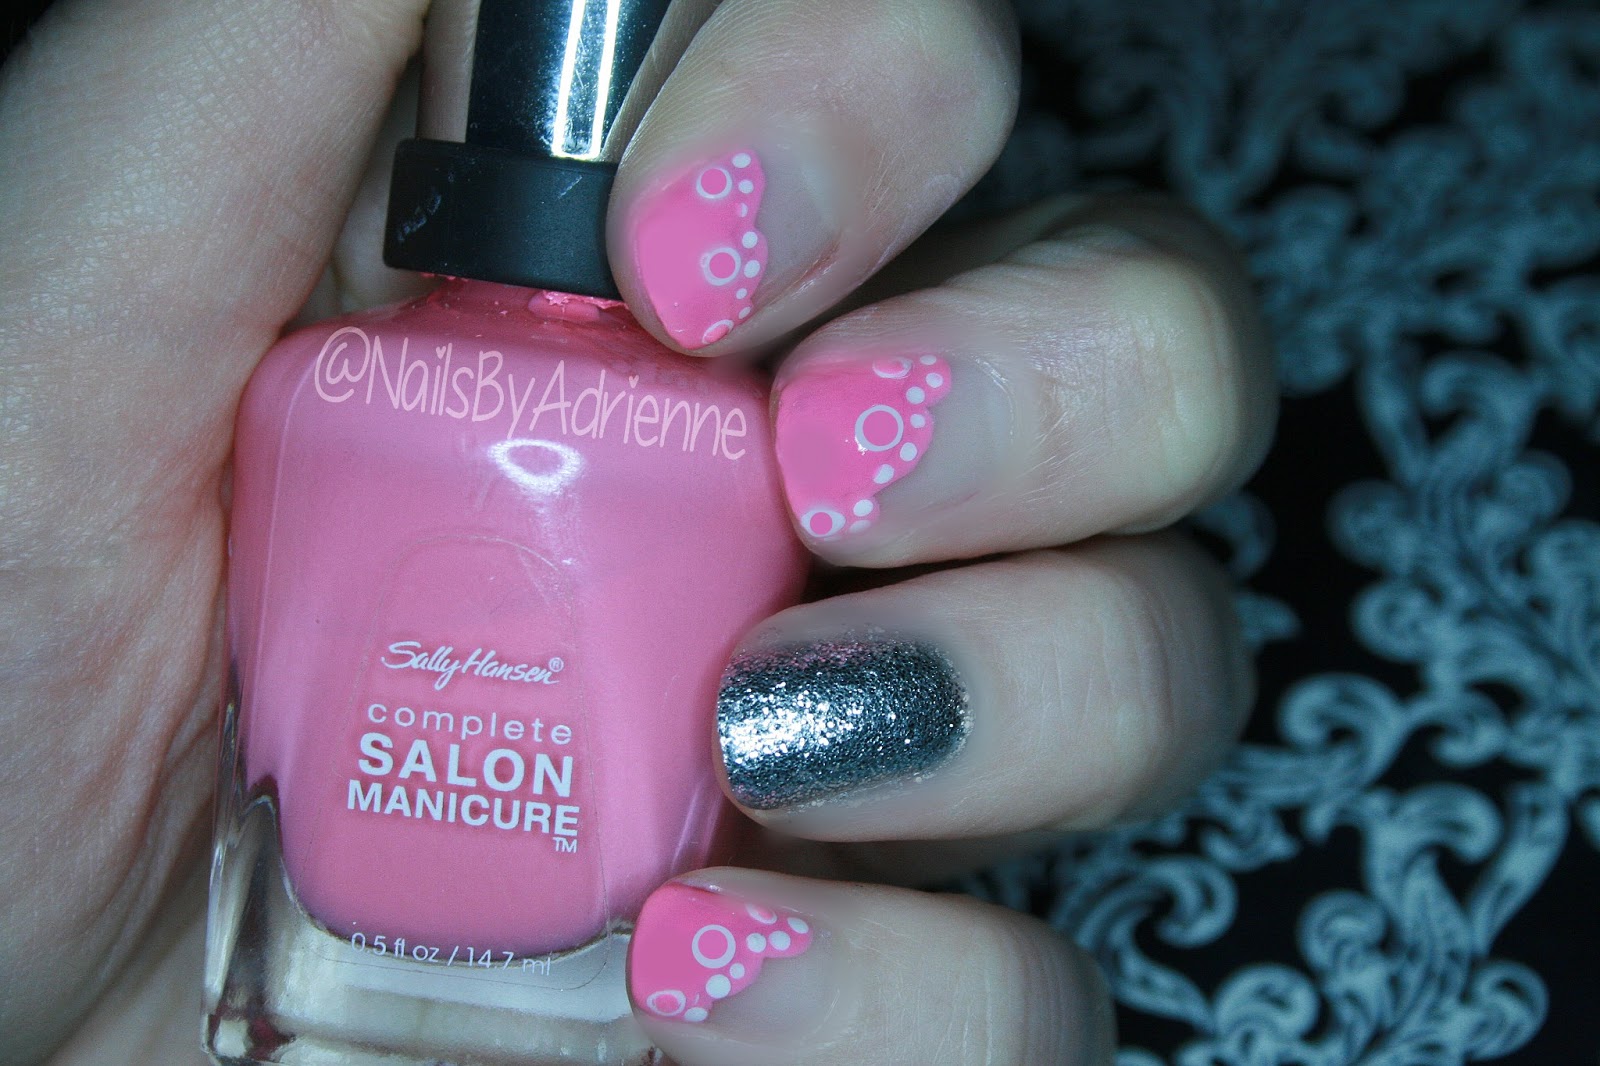
As always I started off with a base coat. Then I painted my accent nails, and tips with the neon pink. Then I went over the accent nails with the pink glitter. I used the nail art brush and black acrylic paint to paint the vertical lines. Then I applied a thin coat of my favorite top coat to my accent nails and applied the rhinestones while the top coat was still wet. Finished up my applying the top coat to all my remaining nails. Them, cleaned up the design with a paint brush dipped in nail polish remover.


Products used:
Base coat: Nail-aid, Triple Wrap Thickener
Neon Pink: L.A. Colors, Pink Bubbles
Pink Glitter: Sinful Colors, Pinky Glitter
Top coat: Sally Hansen, Insta-Dri
Black: Apple Barrel Colors, Black
Black 2mm Rhinestones 
Nail art brush
Toothpick(for picking up the rhinestones)


Friday, June 7, 2013

NOTD: Soft and Cute Baby Blue and Pink

Hello again everyone! I hope you've all had a nice week, and are ready for the weekend. Sorry this post is going up later then usual. Today has been a bit hectic. I have another NOTD(Nails of the Day) for you today. I normally don't have trouble photographing my designs, but this one proved to be a bit difficult.  However, I think I have a couple decent enough shots to show you all my design. This is a very simple design, anyone can do it! If you have any questions feel free to ask. I'd love to hear from you. If you try this design out, share it with me on Facebook, Twitter or Instagram, I'd love to see! Like me on Facebook to see more from me. I'm also on Instagram and Pinterest, and Twitter . Check out my other blog if you'd like to see non nail related blogs. 
Have a blessed day,


Want to make your tips look more professional? Try dipping a small paint brush in nail polish remover and clean up the bottom edge. Just swipe the paint brush along the bottom of the tip arching it just a little bit in the center. This gives that clean line we all strive for.

If you want to learn in more detail how I created this triangle detail, check out my blog post on it here!


 Products used:
Base coat(pictured below): Nail-aid, Triple wrap thickener
Baby Blue: Pure Ice, Bikini
Chunky Silver Glitter: Pure Ice, Dazzle Me
Silver Glitter Striper: Ice Breaker
Top coat(pictured below): Sally Hansen, Insta-Dri
 Nail dotting tool


Monday, June 3, 2013

Tutorial: Girly Coral with white stripes

Hello again everyone! I'm happy to bring another tutorial to you guys this Monday afternoon. I hope you're all having a wonderful day. I was inspired to do this design when I saw a cute phone case on amazon the other day. I'll insert a picture of the case at the end of the tutorial if you want to see it. Today's tutorial is pretty simple, so let's get into it. If you have any questions feel free to ask. I'd love to hear from you. If you try this design out, share it with me on Facebook, Twitter or Instagram, I'd love to see! Like me on Facebook to see more from me. I'm also on Instagram and Pinterest, and Twitter . Check out my other blog if you'd like to see non nail related blogs. Have a blessed day,


If you want to learn how I created this design, keep reading :-)

Products used:
Base coat: Nail-aid, Triple Wrap Thickener
Pinky/Coral: Sally Hansen, I Pink I Can
Chunky silver glitter: Pure Ice, Dazzle Me
Silver glitter striper: Ice Breaker
White: Apple Barrel Colors, White 
Top coat: Sally Hansen, Insta-Dri
Detail brush
Dotting tool

 Step 1: As always, start by applying your favorite base coat.


 Step 2: Using the color of your choice paint your accent nails. I chose my thumb and ring finger to be my accent nails. 
 Step 3: Using the same color, on your non accent nails paint angled tips. I find it easiest to start at the bottom and sweep my brush upward. 


 Step 4: Using either a white nail striper, or white paint and a detail brush paint vertical lines on your tips. You can make them as thick or thin as your like. I used a detail brush and white acrylic paint. This design would still look nice if you skip this step.


 Step 5: On your accent nails use the same nail striper/detail brush and paint, and paint diagonal lines in one direction. It should look kind of like a pink candy cane.


 Step 6: use the same nail striper/detail brush and paint, and paint diagonal lines in the opposite direction. Crossing over the first set of lines. Creating diamond shapes, like fishnets, or lattice.


 Step 7: This step is optional, but I love how it turned out. I took a chunky silver glitter, and put some of it on a piece of paper. Then I took a dotting tool, and picked up the large hexagonal glitter out one by one and placed them where the lines crossed. 


 Step 8: Using a silver glitter striper, place a line of silver glitter at the base of your angled tips. This just creates a more finished look.


 Step 9: Allow your design to dry for a couple minutes, and apply your favorite top coat. Then go in with a cotton bud or paint brush dipped in nail polish remover and clean up any polish that might have gotten on your skin. You're all done, this was the final step! 


Friday, May 31, 2013

NOTD: Pinky/Coral scalloped nails

Hello again everyone! What do you guys think about my new blog design? I worked hard on it yesterday, and I love it! I have another NOTD(nails of the day) for you. I'm not sure how I feel about these nails to be honest. I kinda like them, but they aren't quite what I had imaged when I thought up the design. That happens sometimes though, and I don't have time nor patience to redo them. I figured I'd share them with you despite how they turned out. I hope you all enjoy them more than I do. If you have any questions feel free to ask. I'd love to hear from you. If you try this design out, share it with me on Facebook, Twitter or Instagram, I'd love to see! Like me on Facebook to see more from me. I'm also on Instagram and Pinterest, and Twitter . Check out my other blog if you'd like to see non nail related blogs. 
Have a blessed day,


Products used:
Base coat: Nail-aid, Triple Warp Thickener
Pinky/Coral: Sally Hansen, I Pink I Can
Silver glitter: Queen of Beauty
Top Coat: Sally Hansen, Insta-Dri
White acrylic paint: Apple Barrel Colors, White
Dotting tool
Detail paint brush


Monday, May 13, 2013

NOTD: Mint Green with white stripes and pink hearts


Hello everyone! I am happy to bring you another blog post this fine Monday! Today's post is another NOTD(nails of the day). I love how today's nails turned out. They are perfect for a lovely spring day like today. Mint green, pink hearts, pink glitter, and white stripes, yes please.If you have any questions feel free to ask. If you try these nails out I'd love to see, share them with me on any of my social media sites. I'd love to hear from you. Like me on Facebook to see more from me. I'm also on Instagram and Pinterest, and Twitter . Check out my other blog if you'd like to see non nail related blogs. 
Have a blessed day,


__________________________________________________


Products used:
Base coat: Nail-aid, Triple Wrap Thickener
Mint green: Pure Ice, Home Run!
Neon Pink: L.A. Colors, Pink Bubbles
Pink Glitter: Pinky Glitter
Top Coat: Sally Hansen, Insta-Dri
White: Apple Barrel Colors(acrylic paint), White
1 detail brush
1 dotting tool
__________________________________________________
             
So, are yo ready to see what they look like? 


 I love how these nails turned out! They were very simple. I started with a base coat, and then painted all but my ring finger mint green. Then while that dried, I applied one coat of a neon pink to my ring finger. After allowing the mint green to dry for a couple minutes, using a detail brush and white acrylic paint, I painted 3-5 vertical lines. You could skip this step or use a nail striper. Then while the lines dried for a couple minutes I applied one coat of a pink glitter over the neon pink on my ring finger. Next, I went in with a dotting tool and the neon pink nail polish, I created the 2 small hearts on all but my ring finger and thumb. You could use a toothpick for this step. I'll insert a graphic of how I paint my heats below. Now, I moved onto my thumb. Using a detail brush I painted a larger heart with the neon pink polish. I outlined the larger heart in the same white paint and brush used to make the lines. Then, I went over all the hearts with a little of the pink glitter. Then, I let my nails dry for a couple minutes before applying one coat of my favorite fast drying top coat. Lastly, I used a paint brush dipped in nail polish remover to clean up any polish that got on my skin, and applied some cuticle oil.


How I use a dotting tool to paint small hearts 

Step 1, using a dotting tool or toothpick place 2 small dots where you want to top of your heart to be. 

Step 2, Drag the left dot down gently to a point.


Step 3, Drag the right dot down gently to a point, meeting the first line you pulled down. This will create the point at the bottom of the heart. 


__________________________________________________