Showing posts with label cute nails. Show all posts

Friday, July 19, 2013

NOTD: Mint Manicure For Talia Joy


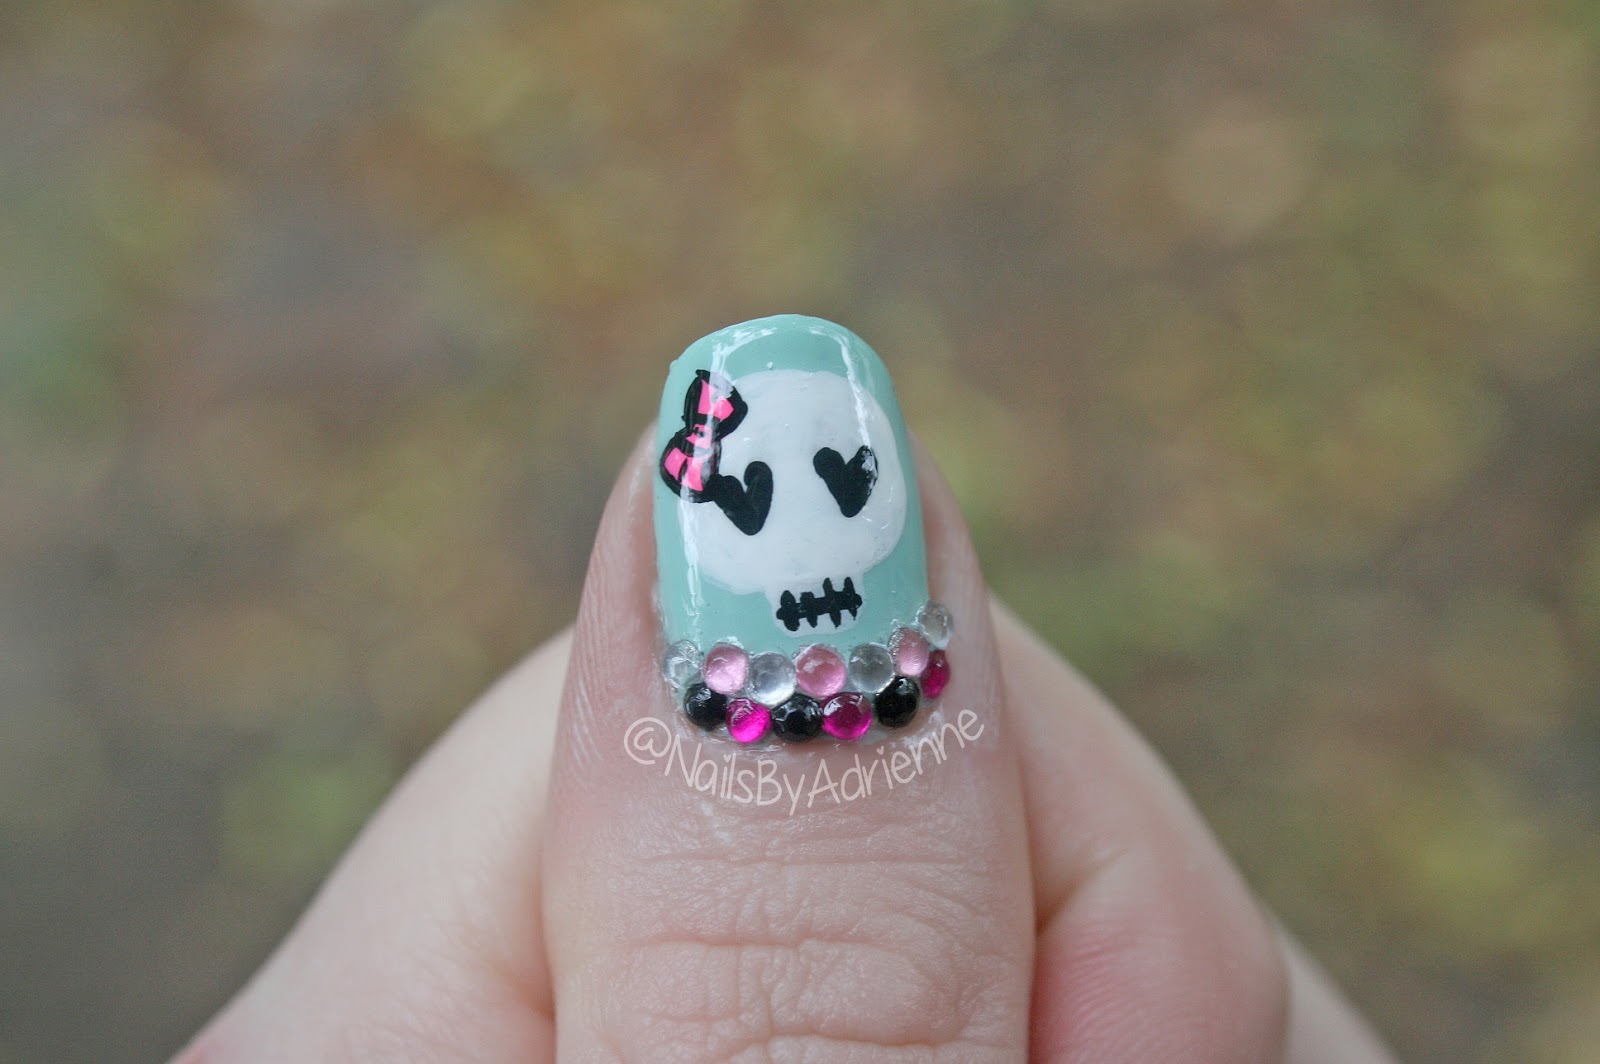
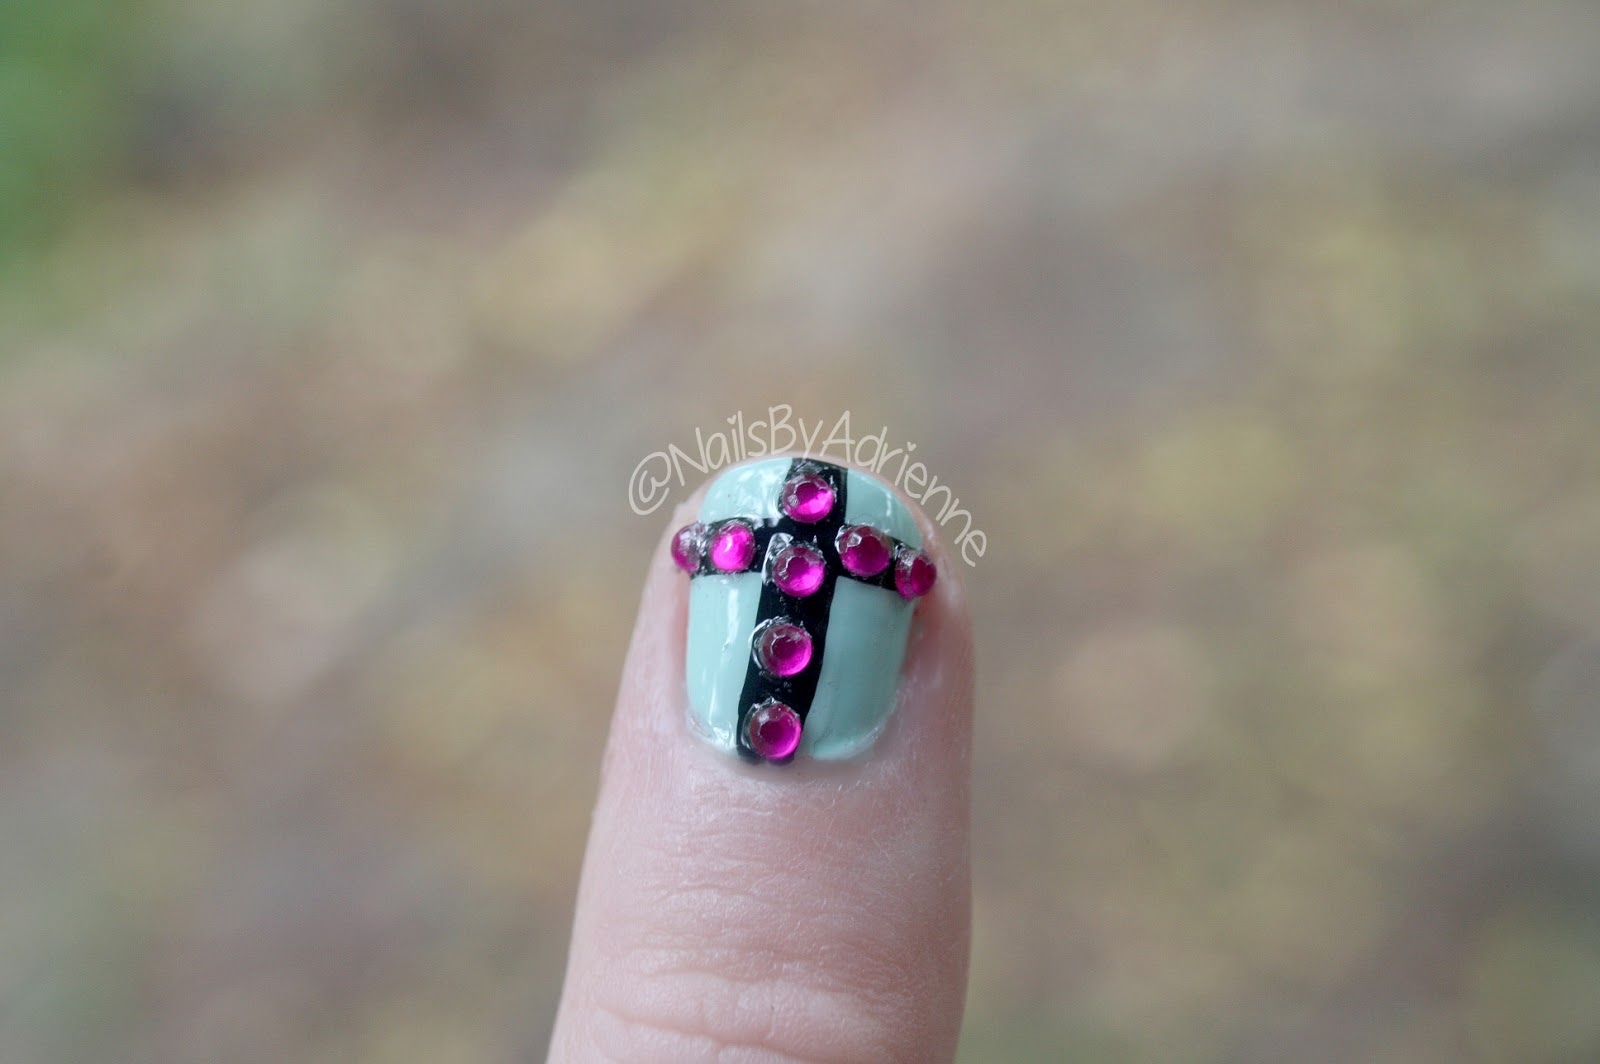
Hello again everyone! I had a different blog planned for today, but I saw that the beauty community was doing mint manicures in remberence of Talia Joy Castellano today. I couldn't help but join in. I didn't personally know Talia, but I did watch her YouTube videos, and she was such an inspiration. It is a horrible thing when such a young, amazing little girl is taken from us. She did so much good with her time here, and we should all learn from that. My heart aches for her family, but at least she is no longer sick and in pain. If you don't know who Talia is, then I will link you to a little Bio and other goodies below. Talia passed away on July 16, 2013 from childhood cancer after fighting it for 6 and a half years. She was just 13 years old, and no one that age should have to endure what she did, and yet, she did it with such a bright outlook. So, Talia if you're looking down, these nails are for you. 

I wanted to do a video tutorial for these nails, but we had a lack of sun today, and I hate filming with artificial lighting. So, if you would like me to film a video tutorial for these nails just ask. I looked back at some of Talia's manicures for inspiration. She liked bright colors, rhinestones, animal print,edgy but cute and kinda gaudy nails(my kind of nails). Overall I like how these turned out. I'm not real happy with the pinky nail design, but was a little pressed for time.If you have any questions feel free to ask. If you try these nails out I'd love to see, share them with me on any of my social media sites. I'd love to hear from you. Like me on Facebook to see more from me. I'm also on Instagram and Pinterest, and Twitter . Check out my other blog if you'd like to see non nail related blogs. 


Read Talia's story here 
Talia's Facebook Page here
Talia's YouTube channel here


Products used:

Base coat: Nail-aid, 1 Step Fast Growth

Mint Green: Pure Ice, Home Run!
Neon Pink: L.A. Colors, Pink Bubbles
Fine Silver Glitter: Sinful Colors, Queen of Beauty
Chunky Silver Glitter: Pure Ice, Dazzle Me
Top Coat: Sally Hansen, Insta-Dri
White: Apple Barrel Colors, White
Black: Apple Barrel Colors, Black
2mm Rhinestones
Detail Paint Brush
Dotting Tool
Makeup Sponge(not pictured)


 I have 2 tutorials on leopard print nails. You can check them out here and here


 I have a tutorial on gradient glitter nails. You can check it out here

Wednesday, July 17, 2013

Video: Cute Leopard Print Nail Tutorial


Hello again everyone! I'm so happy to finally be bringing you another video! I'm so sorry it has taken me so long to get this video out to you all. I was supposed to have it up over a week ago. However, I threw my back out and have been unable to sit for more then a couple minutes here and a couple minutes there. I am finally beginning to feel better, and getting this video out to you all was my first priority! I hope you enjoy this video, and if you have any ideas on other designs you'd like to see from me next, leave me a comment telling me what you'd like to see. If you have any questions feel free to ask. If you try these nails out I'd love to see, share them with me on any of my social media sites. I'd love to hear from you. Like me on Facebook to see more from me. I'm also on Instagram and Pinterest, and Twitter . Check out my other blog if you'd like to see non nail related blogs. 

Have a blessed day,


You can also go watch it HERE


Products Used:

Base coat: Nail-aid, Triple Wrap Thickener

Silver: Sally Hansen, Celeb City
Silver Glitter: Pure Ice, Dazzle Me
Baby Blue: Pure Ice, Bikini
Neon Pink: L.A. Colors, Pink Bubbles
Silver Glitter Striper: Art Deco, Ice Breaker
Top coat: Sally Hansen, Insta-Dri
Black: Apple Barrel Colors, Black
Dotting Tool(get the ones I used here)

Detail Paint Brush(get the ones I used here)


Tuesday, July 9, 2013

NOTD: Cute Blue and Pink Leopard Print Nails


Hello again everyone! I'm sorry I haven't been posting as regularly. I will get back on track! Today I have a NOTD(nails of the day) post for you. I will be posting a video tutorial on this design, Wednesday or Friday. I know this design is a little familiar, but I got such positive feedback from it the first time I decided to record a tutorial on how you can create this design for yourself. You can check the original design I'm talking about here. I changed it up some, just so I wasn't posting the same design twice. However, the technique is the same. So, if you want to learn how to create this design, stay tuned! If you have any questions feel free to ask. If you try these nails out I'd love to see, share them with me on any of my social media sites. I'd love to hear from you. Like me on Facebook to see more from me. I'm also on Instagram and Pinterest, and Twitter . Check out my other blog if you'd like to see non nail related blogs. 
Have a blessed day,


Products Used:
Base coat: Nail-aid, Triple Wrap Thickener

Silver: Sally Hansen, Celeb City
Silver Glitter: Pure Ice, Dazzle Me
Baby Blue: Pure Ice, Bikini
Neon Pink: L.A. Colors, Pink Bubbles
Silver Glitter Striper: Art Deco, Ice Breaker
Top coat: Sally Hansen, Insta-Dri
Black: Apple Barrel Colors, Black
Dotting Tool(get the ones I used here)
Detail Paint Brush(get the ones I used here)


Saturday, June 15, 2013

Tutorial: Purple glitter with rhinestones


 Hello again everyone. I hope you're all looking forward to the weekend. I'm just getting over an oh so enjoyable summer cold. So, I'm sorry for the lack of blogs this week. I'm feeling human again, so time to get back into blogging. I have a new tutorial for you today! I hope you are excited! So if you want to see how I created today's design, keep on reading! If you have any questions feel free to ask. I'd love to hear from you. If you try this design out, share it with me on Facebook, Twitter or Instagram, I'd love to see! Like me on Facebook to see more from me. I'm also on Instagram and Pinterest, and Twitter . Check out my other blog if you'd like to see non nail related blogs. 
Have a blessed day,


Products used:
Base coat: Nail-aid, Triple Wrap Thickener
Purple: Sally Hansen, Good to Grape
Purple glitter: Pure Ice, Darkside
Silver glitter striper: Art Deco, Ice Breaker
Top coat: Sally Hansen, Insta-Dri
Dotting tool(for applying the rhinestones)
2mm Rhinestones


 Step 1: As always start with applying your favorite base coat.


Step 2: Using the color of your choice on your accent nails paint the whole nail, and on all other nails do an angled tip.


 Step 3: Using a coordinating glitter paint your accent nails. I used 2 coats of a chunky purple glitter. 


Step 4: Using the same glitter you used on your accent nails apply 1 thin coat over the purple tips. 


 Step 5: Using a silver nail striper apply a thin line of glitter on the base of your purple tips.


 Step 6: This is an optional step. If you have some rhinestones apply one on the corner of the tips, and then apply 3-4 going up the center of your accent nails. I use a toothpick  or dotting tool to pick up the rhinestones. You can either use glue to stick them in place or paint a coat of top coat and stick the rhinestones on before it dries.


 Step 7: Using a paint brush or a cotton bud dipped in nail polish remover remove any polish that might have gotten on your skin. This is the last step, I hope you give this design a shot. 


Friday, June 7, 2013

NOTD: Soft and Cute Baby Blue and Pink

Hello again everyone! I hope you've all had a nice week, and are ready for the weekend. Sorry this post is going up later then usual. Today has been a bit hectic. I have another NOTD(Nails of the Day) for you today. I normally don't have trouble photographing my designs, but this one proved to be a bit difficult.  However, I think I have a couple decent enough shots to show you all my design. This is a very simple design, anyone can do it! If you have any questions feel free to ask. I'd love to hear from you. If you try this design out, share it with me on Facebook, Twitter or Instagram, I'd love to see! Like me on Facebook to see more from me. I'm also on Instagram and Pinterest, and Twitter . Check out my other blog if you'd like to see non nail related blogs. 
Have a blessed day,


Want to make your tips look more professional? Try dipping a small paint brush in nail polish remover and clean up the bottom edge. Just swipe the paint brush along the bottom of the tip arching it just a little bit in the center. This gives that clean line we all strive for.

If you want to learn in more detail how I created this triangle detail, check out my blog post on it here!


 Products used:
Base coat(pictured below): Nail-aid, Triple wrap thickener
Baby Blue: Pure Ice, Bikini
Chunky Silver Glitter: Pure Ice, Dazzle Me
Silver Glitter Striper: Ice Breaker
Top coat(pictured below): Sally Hansen, Insta-Dri
 Nail dotting tool